Greetings...

Well it's been a while since the last boat project, I've apparently forgotten about the nightmares (well actually I'm still having them) with the previous restorations (insert links here). This project has no old parts, no rough sewn wood, no motors and NO PARTNERS. Nope this time around it's a kit, precut parts, instructions and tutalege from the folks at CLC Boats.

Monday, October 22, 2007

Bow, Stern

Well the stern is clamped, glued and screwed. Here's a close up of the bow, looks rather sinister with the stitches hanging out. Notice its almost 90 degrees to the floor.

Is that a boat?

Wow she is really taking shape now. A temporary stick at midship ensures the beam is at spec. Loosely tied off the stern to keep the aft sheer panels in close position. The sheer line takes shape as the panels come together and curve in. For a minute thought about creating a nice solid wood 'wine glass' type stern with some nice gold leaf lettering, but think the rudder would end up hiding it anyway.

Stitches in detail

Capt. Dad requested some closeups of the stitching process. Well here you go. Real simple copper wire inserted in holes of adjoining plywood. start them loose and tight em up later to draw them inside corner to inside corner.

Japanese anyone

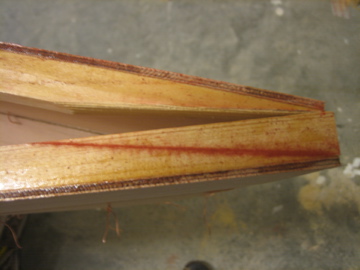
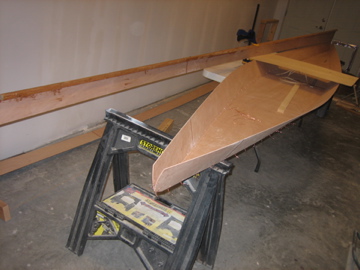
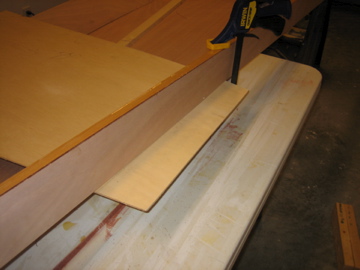
It was suggested to use a Japanese saw to make all your cuts, never used one before but trusted their judgment. The beauty of the saw apparently is that you push to cut rather than pull as with a more traditional handsaw. This gives you incredible accuracy when cutting bevels, even for a hack like me. Once the bevels were cut, glue, screw and clamp up the joint to produce the bow.

Starboard side

The starboard side sheer panel goes in and forms the full bow of the boat. Need to run a center line from the stern to mark the angle on the sheer clamps so the two clamps mate perfectly (or almost perfectly).


Take a Bow

With the port side sheer panel in place you can get a nice glimpse of the bow.

Sheer joy

Time to stitch in the sheer panels. At first this task seemed to be difficult, the instructions left a lot to be figured out on your own, guess thats the fun. Ended up putting a thin piece of plywood across the bilge panels to balance and hold the sheer panels. A clamp allowed to keep it in place for the first few stitches.